
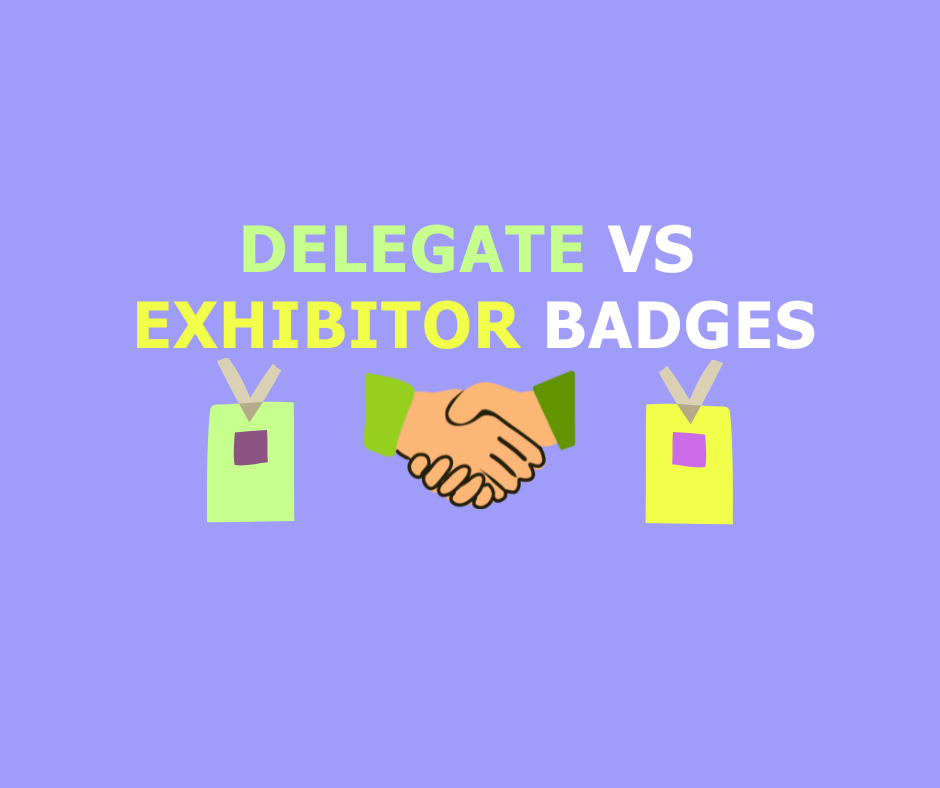
The Difference Between Delegate and Exhibitor Badges: More Than Just a Name
At first glance, a badge is a badge. It hangs around the neck, displays a name, and gets someone through the door. However, if you are organizing a large-scale event, treating delegate (attendee) and exhibitor badges as identical is a missed opportunity for security, branding, and logistics.
The distinction between these two groups is vital for the flow of your event. Here’s a breakdown of why they differ and how to design them effectively.
1. Functionality and Access Control
The primary difference lies in where the wearer is allowed to go and when.
- Exhibitor Badges: These typically grant "Early Access." Exhibitors need to be on the floor hours before the doors open to set up their stands. Their badges act as a security pass for loading bays and restricted zones.
- Delegate Badges: These are designed for the "Attendee Experience." They usually grant access to the main floor, keynote theatres, and breakout rooms during official show hours.
Pro-Design Tip: Use colour-coding! For example a bold coloured bar at the bottom of the badge—blue for delegates and orange for exhibitors—allows your security team to spot a "wrong" badge from 10 feet away without having to read a single word.
2. Design and Surface Area
Because exhibitors and delegates have different goals, their badge layouts should reflect that.
For the Exhibitor
Exhibitors are there to sell and network. Their company name is often more important than their own name.
- Layout: Make the Company Name the most prominent feature.
- Durability: Exhibitors wear their badges for 10+ hours a day, often while moving boxes or setting up tech. A 4" x 3" double-sided card badge is great, but ensure you’re also using high-quality stock that is printed on a press like our Konica Minolta Accuriolabel 230, so the ink doesn't scuff during physical labour and across multiple days.
For the Delegate
Delegates are there to learn and be identified.
- Layout: The Individual’s Name should be the hero.
- The Power of 4" x 6": We highly recommend the larger 4" x 6" format for delegates. This is so that you can use the back of the badge to print the full event schedule or floor plan. This turns their badge into a functional tool that they’ll refer to all day, rather than just an ID.
3. Lead Generation and Data
This is where the technical side of badge printing really shines.
- Exhibitor Barcodes: These are often used for "Exhibitor-to-Exhibitor" networking or for the organizers to track which staff members are on-site.
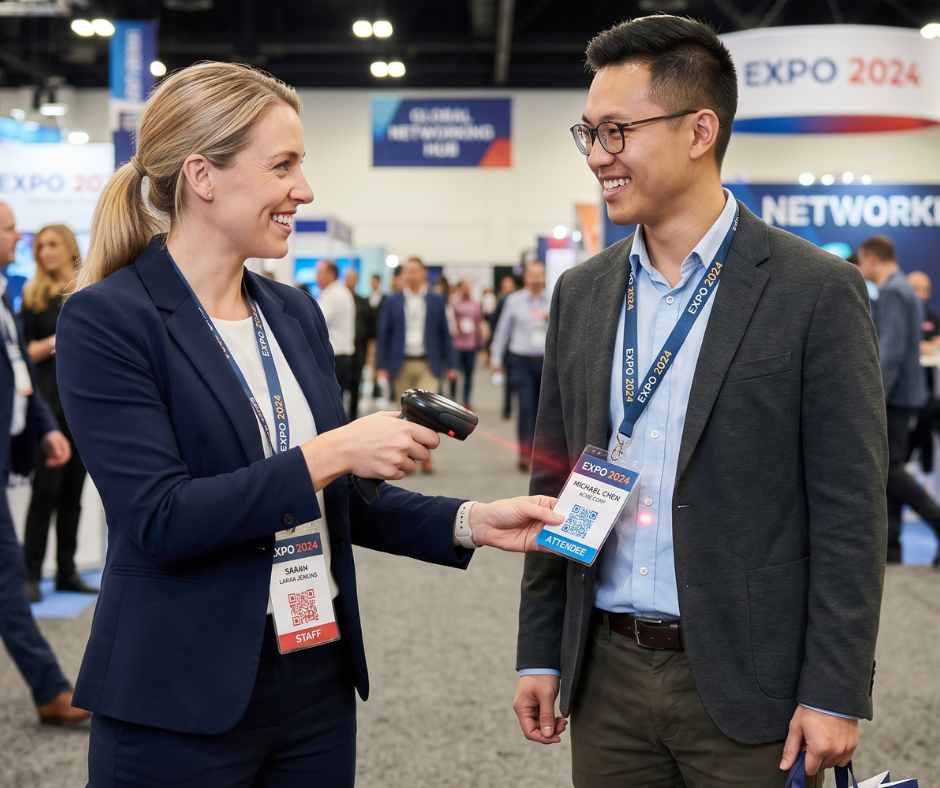
- Delegate Barcodes: These are the "Gold Mine." When an exhibitor scans a delegate’s badge, they are capturing lead data. This is why print quality is non-negotiable.
Whether you are overprinting on pre-printed stock or printing from blank yourself, your QR codes must be crisp. If a delegate's barcode is blurry or printed on low-quality inkjet stock that smudges, the exhibitor loses a lead—and that’s a quick way to lower your event's return on investment.
4. Hardware and Accessories
It’s not just about what is printed on the card—how the badge is worn can also serve as an indicator of status on the event floor.
The Magic of the Triple Slot
For both delegate and exhibitor badges, we highly recommend opting for a triple slot configuration along the top edge.
This design choice serves two main purposes:
-
Flexibility: It gives the wearer the choice of how to hang or clip their badge depending on their outfit.
-
Anti-Flipping: More importantly, utilizing the two outer slots with a double-ended lanyard keeps the badge firmly facing forward.
Keeping the badge facing forward ensures that names, roles, and those all-important QR codes are always visible, scannable, and ready for business.

Which approach is right for your event?
Managing two different badge types doesn't have to be a headache. By ordering pre-printed badge stock with distinct "Exhibitor" and "Delegate" base designs, you ensure the high-end branding stays consistent. Then, using a direct thermal printer such as the Zebra ZD621 on-site, you can quickly print the specific names and barcodes as people arrive.
Need help deciding on the right sizes or materials for your different attendee tiers? We’re experts in making sure every person on your floor—whether they are selling or buying—looks the part. Contact us today!
- April 20, 2026
FAQS
Frequently Asked Questions
This will depend on what you want to print onto your badges on the day of your event. Our thermal tickets are designed to be printed on the Zebra range of printers, namely the ZD621 and GK420D. These printers will print your data and text in a single colour. Our Inkjet tickets are designed to be printed on the Epson C3500 and C4000 range of printers, which both allow for full-colour on the day printing.
Direct thermal technology uses a heat-sensitive coating to create clear, high-quality text or images from a single-colour printer, offering a simple and efficient printing solution without the need for ink or toner. Our Inkjet material is specially coated to allow a CMYK print process in full colour.
Typically, our on-site printers will accept any badge width up to a 4” wide. The most common size for an event badge is 4” x 12”, which folds to 4” x 6” double sided.
You can view our artwork requirements on the downloadable, editable templates on each product page.
Yes this is possible! We would just need a good understanding of your event, your branding guidelines, what is required to be printed on the badge and the logo(s) that you wish to feature. Email us at: BadgeWave@soabar.co.uk