




Mastering Event Check-In: How to Create a Stress-Free Registration Desk
There is nothing quite like the first morning of an event. Months of planning, speaker coordination, and catering logistics all culminate in a single moment: the doors opening.
However, sometimes that opening moment can bring a sharp spike in adrenaline for all the wrong reasons. The registration desk is the very first touchpoint of the attendees experience. Long queues, frantic staff, and malfunctioning printers will sour the atmosphere before anyone even enters into the exhibition hall.
If you want to run a completely stress-free event or exhibition, the secret lies in robust planning strategies—specifically focused on registration desk flow and smart attendee badge management.
Here is how to design a seamless check-in strategy that keeps lines moving, attendees smiling, and your team calm.

1. Calculating Your Badge Printer Hardware (The Golden Rule)
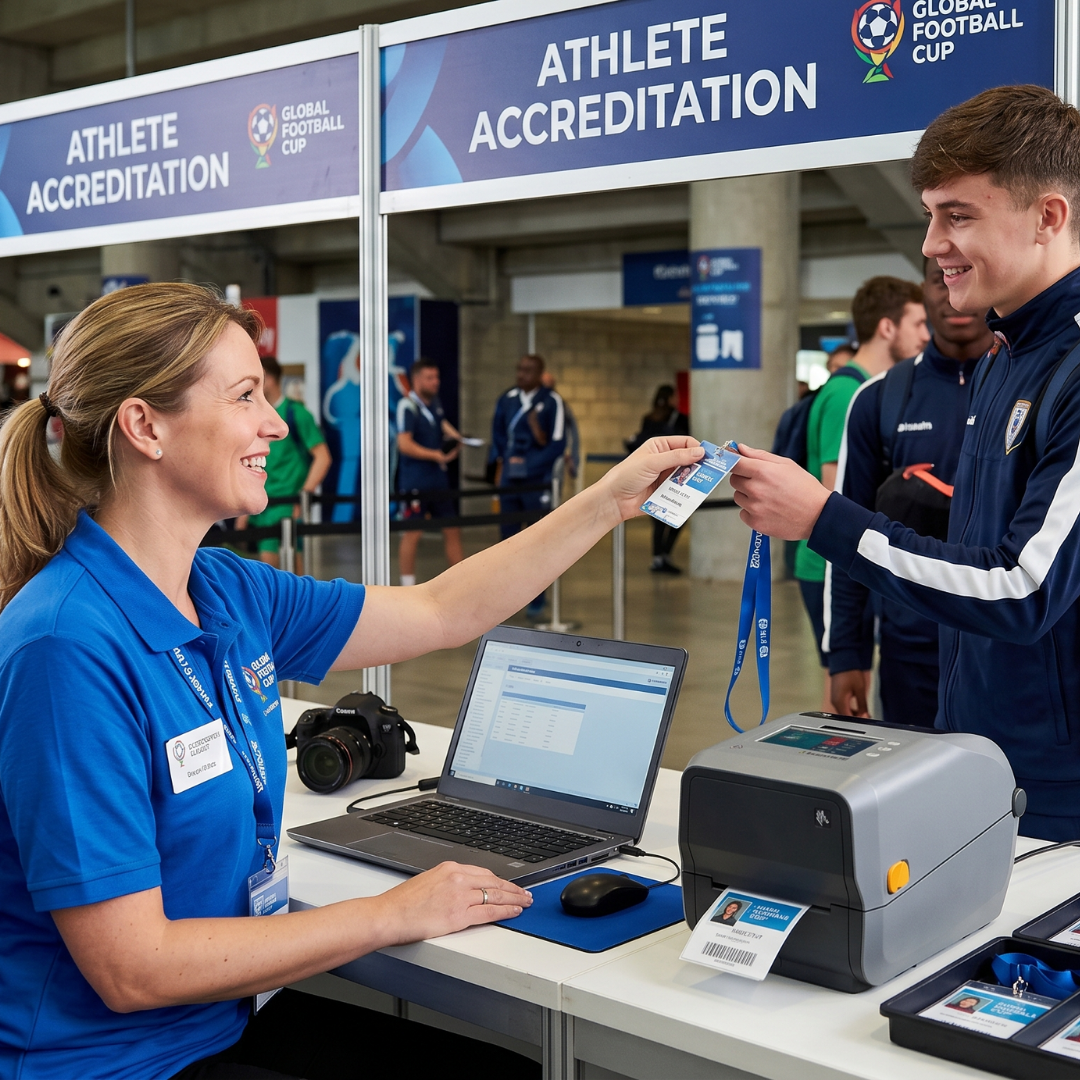
Nothing halts a registration desk faster than a bottleneck at the printer. Ensuring you have the right ratio of badge printers to expected attendees is critical. Having spare hardware on site is simply smart event management, and a non-negotiable.
Here is a practical breakdown to guide your hardware planning:
| Expected Attendees | Active Printers Needed | Back-Up Printers Needed | Recommended Desk Setup |
| 100 – 200 | 1 | 1 | 1 Station with 1 Check-in Staff |
| 200 – 500 | 2 | 1 | 2 Check-in Lanes |
| 500 – 1,000 | 3 | 1 | 3 Express Lanes + 1 Float |
| 1,000+ | 4+ (increments of 1 per 300 peak arrivals) | 2 | Segmented Arrival Zones |
Top Tips for Scaling Above 1,000 Attendees:
- Analyse Peak Arrival Times: Look at your event schedule. If your registration opens at 8:00 AM and the first scheduled event of the day is at 9:00 AM, up to 80% of your attendees will arrive within a tight 45-minute window. Add 1 extra active printer for every additional 300–400 expected arrivals during that rush hour.
- Staffing Ratios: A single staff member using an optimised digital check-in app can process approximately 40 to 60 attendees per hour. Scale your check-in team staff to match how many active printers you have.
2. Choosing the Right Technology: Why Direct Thermal Printers Often Win
When selecting badge printing technology, speed and simplicity are paramount. On-site full-colour ink printers might seem appealing, but they can increase the chance of technical delays and printer cartridge change overs during morning rushes.
The Most Popular Choice: Direct Thermal Badge Printers
Direct thermal printers (such our Zebra ZD621 model, designed for event badging) are the industry standard for a reason:
- Zero Ink or Ribbon Changes: Direct thermal technology uses heat-sensitive paper/badges. This means zero risk of running out of cyan at 8:15 AM or dealing with wet ink smudges on lanyards.
- Plug-and-Play Setup: They connect reliably via Wi-Fi, Ethernet, or Bluetooth to your check-in tablets when that option is selected when purchasing the printer, reducing cable clutter at the front desk.
- Blazing Fast Speed: High-speed thermal printers can produce a complete attendee badge in under 2 seconds.
- Eco-Friendly & Pre-Printed Stock: To maintain branding without sacrificing speed, pre-print beautiful, full-colour shell badges ahead of time using the services offered by Badge Wave. Use the thermal printer on the day exclusively for attendee variable data (Name, Company, Title, and QR/Barcode).
3. Crowd Control & Queue Management: Managing the Early Arrivals
An orderly queue reduces perceived wait times and keeps the venue entrance clear. Early arrivals are guaranteed at almost any event; how you guide them sets the tone for the entire day.
Designing a Controlled Flow:
- Implement Snake Stanchions (Tensabarriers): Linear queues quickly spill into hallways and block doorways. Zig-zagging stanchion belts condense crowds and maintain clear walkways.
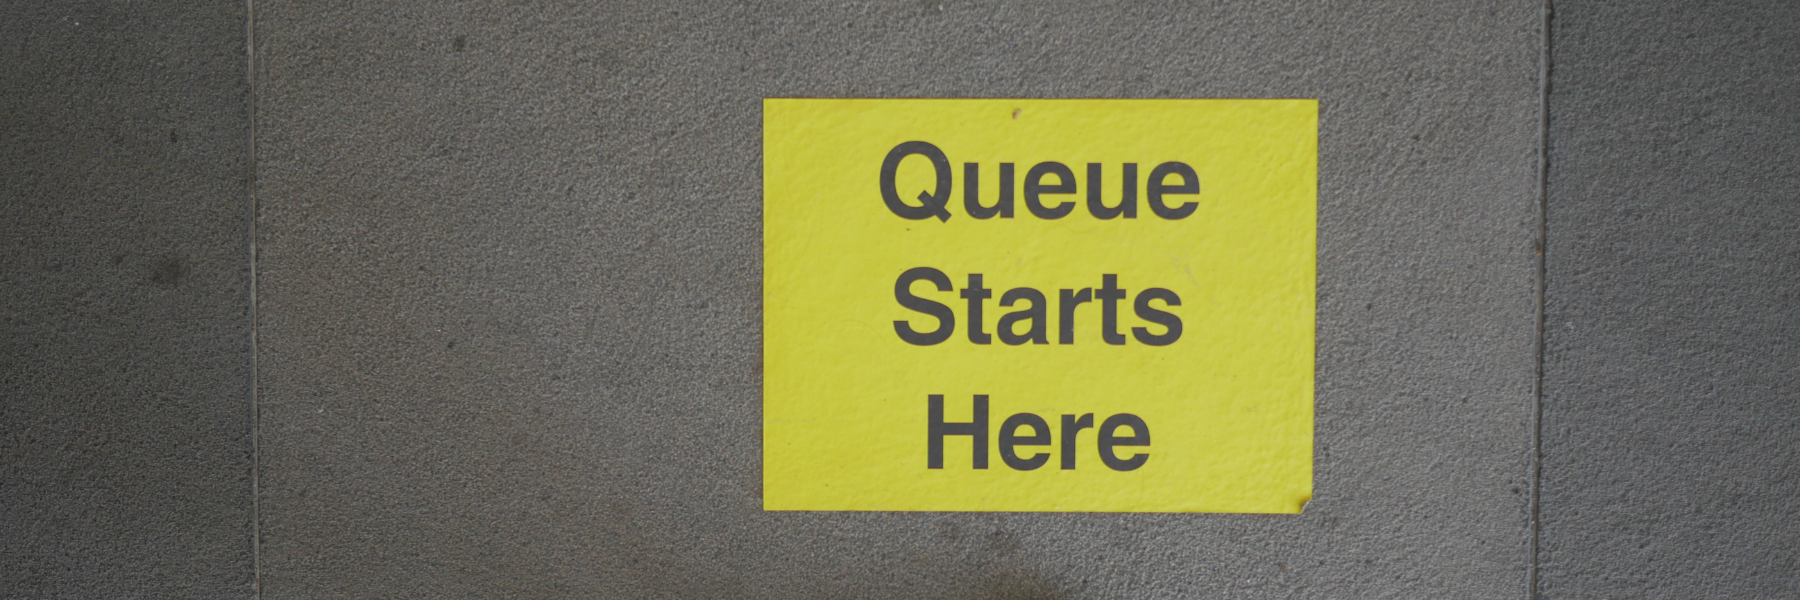
- Clear Floor Markings & Signage: Place high-visibility overhead signs and floor decals indicating where queues start, separated by surname ranges (A–L, M–Z) or registration types (VIP, Exhibitor, General Admission).
- Staff the Queue: Station a team member at the head of the main queue to greet attendees, ensure they have their registration QR code ready on their phone, and direct them to the next available printer station.
4. Handling Unregistered & Walk-In Attendees
Nothing creates chaos at a main check-in line faster than an attendee who cannot find their registration or someone trying to register on the spot.
The Solution: Create a Dedicated "Attendee Support" Desk
Never attempt to register a new attendee or resolve complex account issues in the main express check-in lanes.
- Separate the Workflows: Position a Help Desk / On-Site Registration Station 10–15 feet away from the main check-in counters.
- Self-Serve Mobile QR Code Registration: Display prominent banners with large QR codes reading "Need to Register? Scan Here to Register on Your Phone!" Attendees can fill out their details on their own devices while standing in a dedicated area, reducing staff workload.
- Instant Badge Printing at the Help Desk: Once they complete mobile registration, their badge instantly routes to a dedicated printer at the Help Desk, keeping your primary check-in lanes moving without interruption.

Final Checklist for a Stress-Free Event Morning
- Test Hardware Early: Set up all active and backup printers the afternoon before. Run test prints on actual badge stock.
- Pre-Print VIPs: Pre-print badges for speakers, key sponsors, and press to offer an elevated, instant hand-off experience.
- Brief Your Staff: Hold a 15-minute briefing 45 minutes before doors open. Walk staff through basic printer troubleshooting (for example reloading badge paper, and power-cycling the printers).
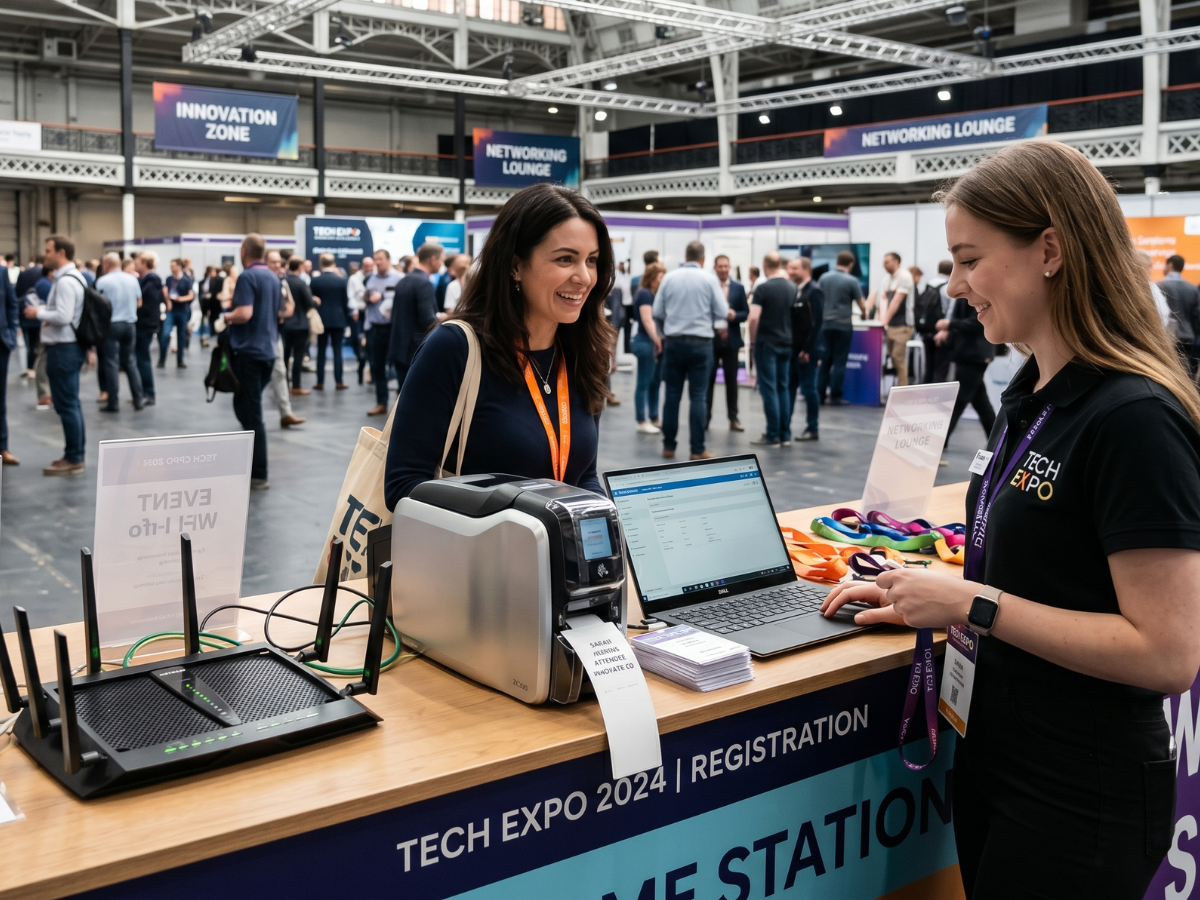
- Power & Connectivity Backup: Ensure desk power strips are taped down securely and prepare a dedicated offline/hotspot Wi-Fi network purely for check-in devices.
By investing time in hardware ratios, choosing direct thermal reliability, and separating your registration workflows, your registration desk will run smoothly—leaving you free to focus on delivering an outstanding attendee experience.
Badge Wave Delivers Brilliance.
Are you in the process of planning your next event? Do you want to take the stress out of attendee registration and create a positive, lasting first impression before the have even stepped through the door?
Head over to our shop to browse our range of badge and printer options, or speak to one of our team to discuss your specific needs including design tips, ordering recommendations and express delivery.
- October 16, 2026

FAQS
Frequently Asked Questions
This will depend on what you want to print onto your badges on the day of your event. Our thermal tickets are designed to be printed on the Zebra range of printers, namely the ZD621 and GK420D. These printers will print your data and text in a single colour. Our Inkjet tickets are designed to be printed on the Epson C3500 and C4000 range of printers, which both allow for full-colour on the day printing.
Direct thermal technology uses a heat-sensitive coating to create clear, high-quality text or images from a single-colour printer, offering a simple and efficient printing solution without the need for ink or toner. Our Inkjet material is specially coated to allow a CMYK print process in full colour.
Typically, our on-site printers will accept any badge width up to a 4” wide. The most common size for an event badge is 4” x 12”, which folds to 4” x 6” double sided.
You can view our artwork requirements on the downloadable, editable templates on each product page.
Yes this is possible! We would just need a good understanding of your event, your branding guidelines, what is required to be printed on the badge and the logo(s) that you wish to feature. Email us at: BadgeWave@soabar.co.uk