



How to Design an Event Badge: The Ultimate Guide for Event Organisers
An event badge is more than a piece of paper or plastic with a name on it.
It acts as a networking tool, a vital security measure, and a piece of your event's branding. It also helps attendees to connect with one another effortlessly. However when designed poorly, it can lead to squinting, awkward introductions, and security hiccups that could have major consequences.
Whether you are organising a multi-day industry expo, a busy trade show, or a more intimate, premium corporate gathering, getting the design right is crucial. Here’s your comprehensive guide on how to design the perfect event badge, so that it can go straight to print at our Badge Wave factory in Whetstone, UK.
1. Choosing Your Design Software
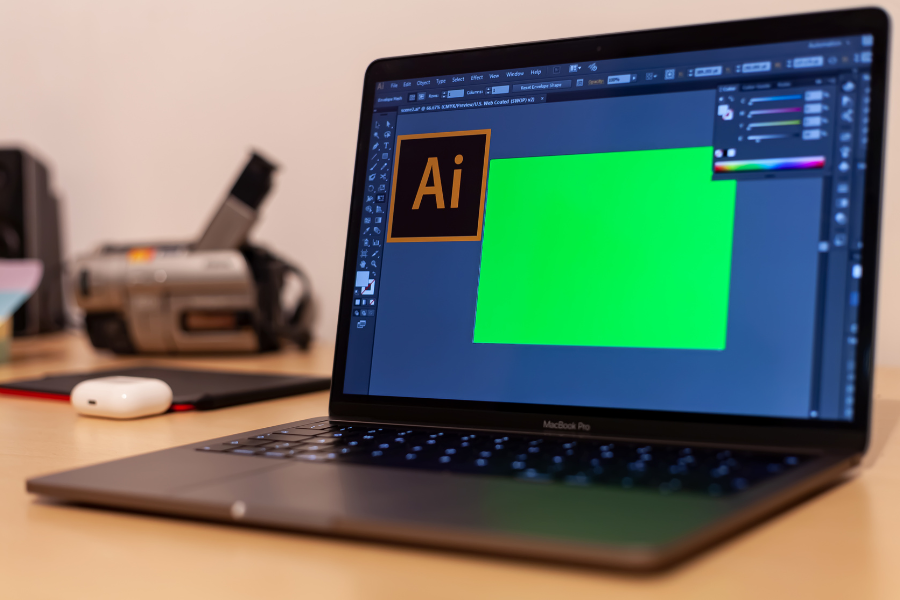
To ensure your badges are printed at the highest possible quality, you need to use the right design tools. We highly recommend using vector-based graphic design software.
- Professional Tools: Adobe Illustrator, Adobe InDesign, or Affinity Designer are the industry standards. They allow you to easily manage bleed areas, set up spot colours, and export crisp vector graphics.
- Other Software: Ultimately, you can use any design software that allows you to accurately edit a PDF, set custom page dimensions, and export in a professional, print-ready PDF format. If you are using web-based tools like Canva, please ensure you are downloading your final file as a "PDF Print" with crop marks and bleed enabled. Note that you may find it difficult to edit our downloadable PDF templates in Canva.
2. Getting Started on Our Website
We've made the ordering process as seamless as possible to ensure your artwork perfectly matches your required badge dimensions. Here’s how to use our website to your advantage, saving you time and design headaches:
- Select Your Badge: Browse our products and select the badge depending on the size and material you would like.
- Choose Your Attachment: Once on the product page, select the hole attachment type you require. For example, you might need a single central slot for a clip, or double slots on the corners to prevent the badge from spinning on a lanyard.
- Download the Template: Once you make your product and hole selection, an option to download the correct template will appear.
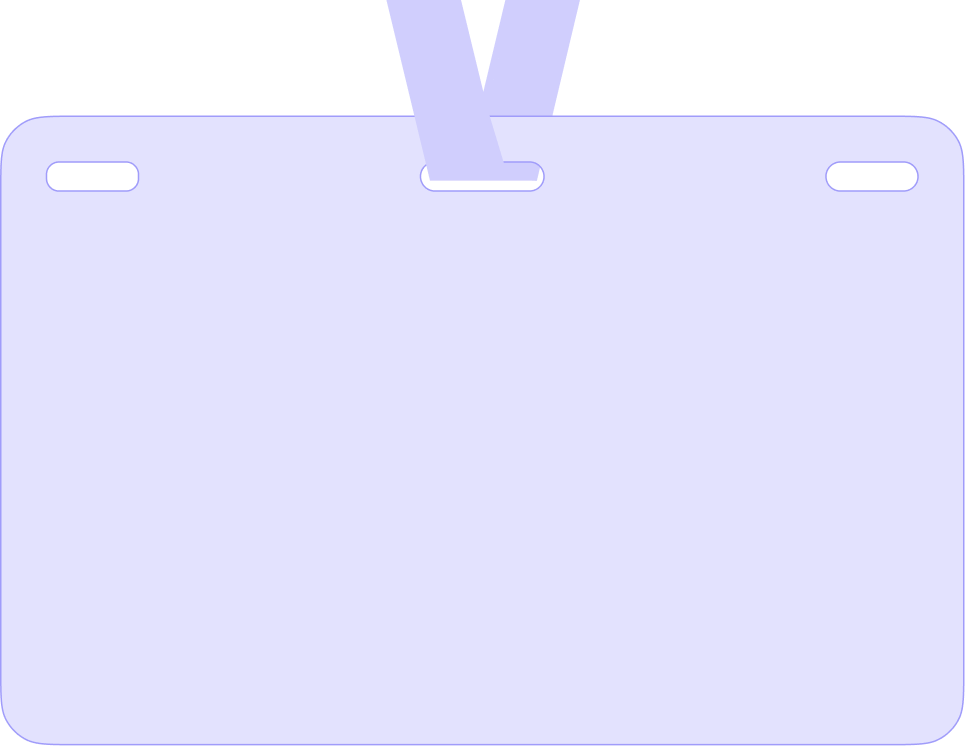
Why use our template? Our downloadable PDF template acts as a crucial tool for designers. It includes the exact badge dimensions, the cutter line (showing exactly where the badge and holes will be punched), and the minimum bleed area required. By placing your artwork directly into this template, you eliminate any guesswork in badge design.
3. The Anatomy of a Great Design
Before you open your software, it helps to understand how people interact with badges. You are designing for legibility at a distance, often referred to as the "three-foot rule."
- Visual Hierarchy: The attendee’s first name should be the largest element on the badge, followed by their last name, and then their company or job title.
- Typography: Use clean, highly legible, sans-serif fonts (like Arial, Helvetica, or Roboto). Avoid cursive or overly decorative fonts that are difficult to read in passing. Ensure high contrast between your text and the background colour.
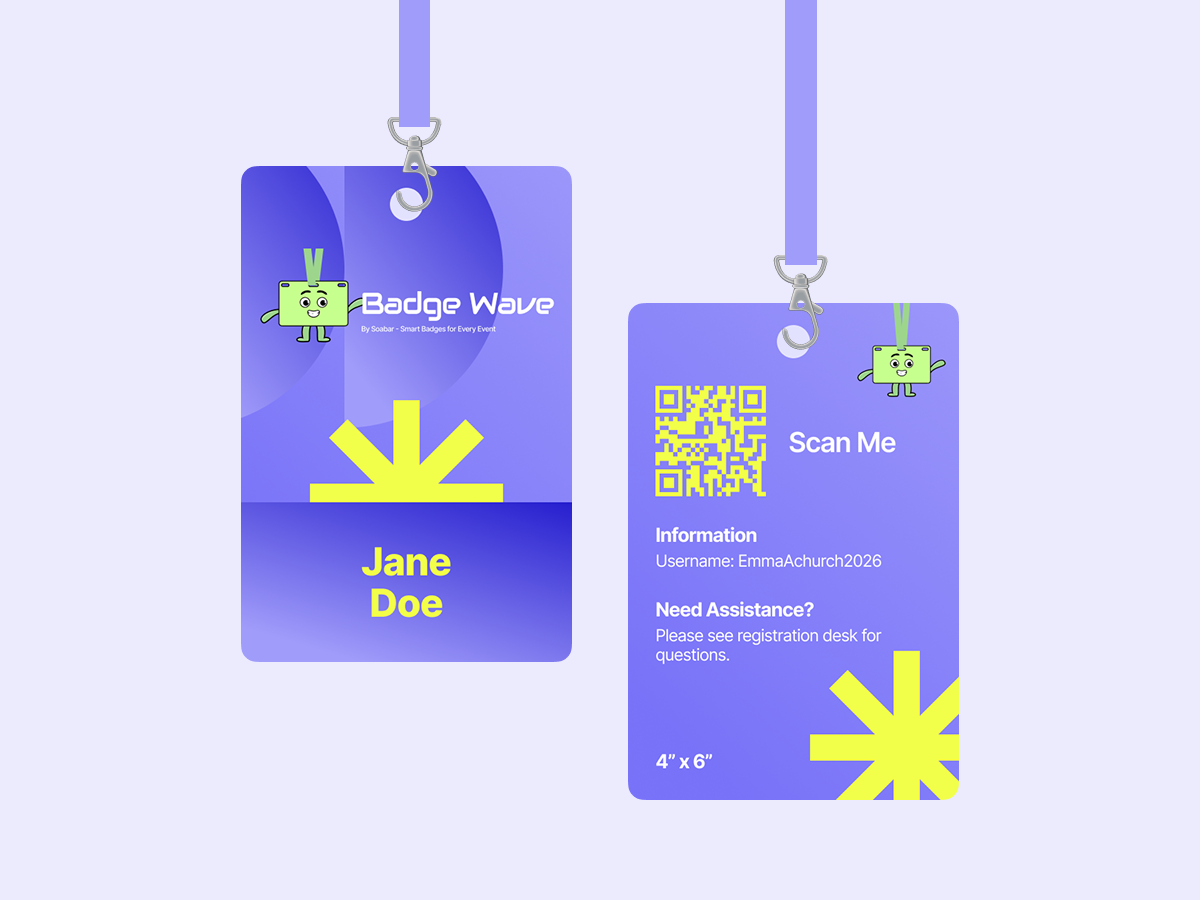
- Utilise the Back: Don’t leave the reverse side blank! If your badges flip over, a blank back looks unprofessional. Use the reverse side for an event map, a mini schedule, Wi-Fi passwords, or emergency on the day contact information.
4. What to Include When Designing
If you are pre-printing the core design with us and adding variable information (like attendee names and barcodes) on the day of the event using a thermal or inkjet printer, you need to balance branding with plenty of clear space. Your base design should include:
- Event Branding: Your event logo, name, and primary brand colours should be prominent but not overwhelming. Including the date and location of the event turns the badge into an ideal keepsake.
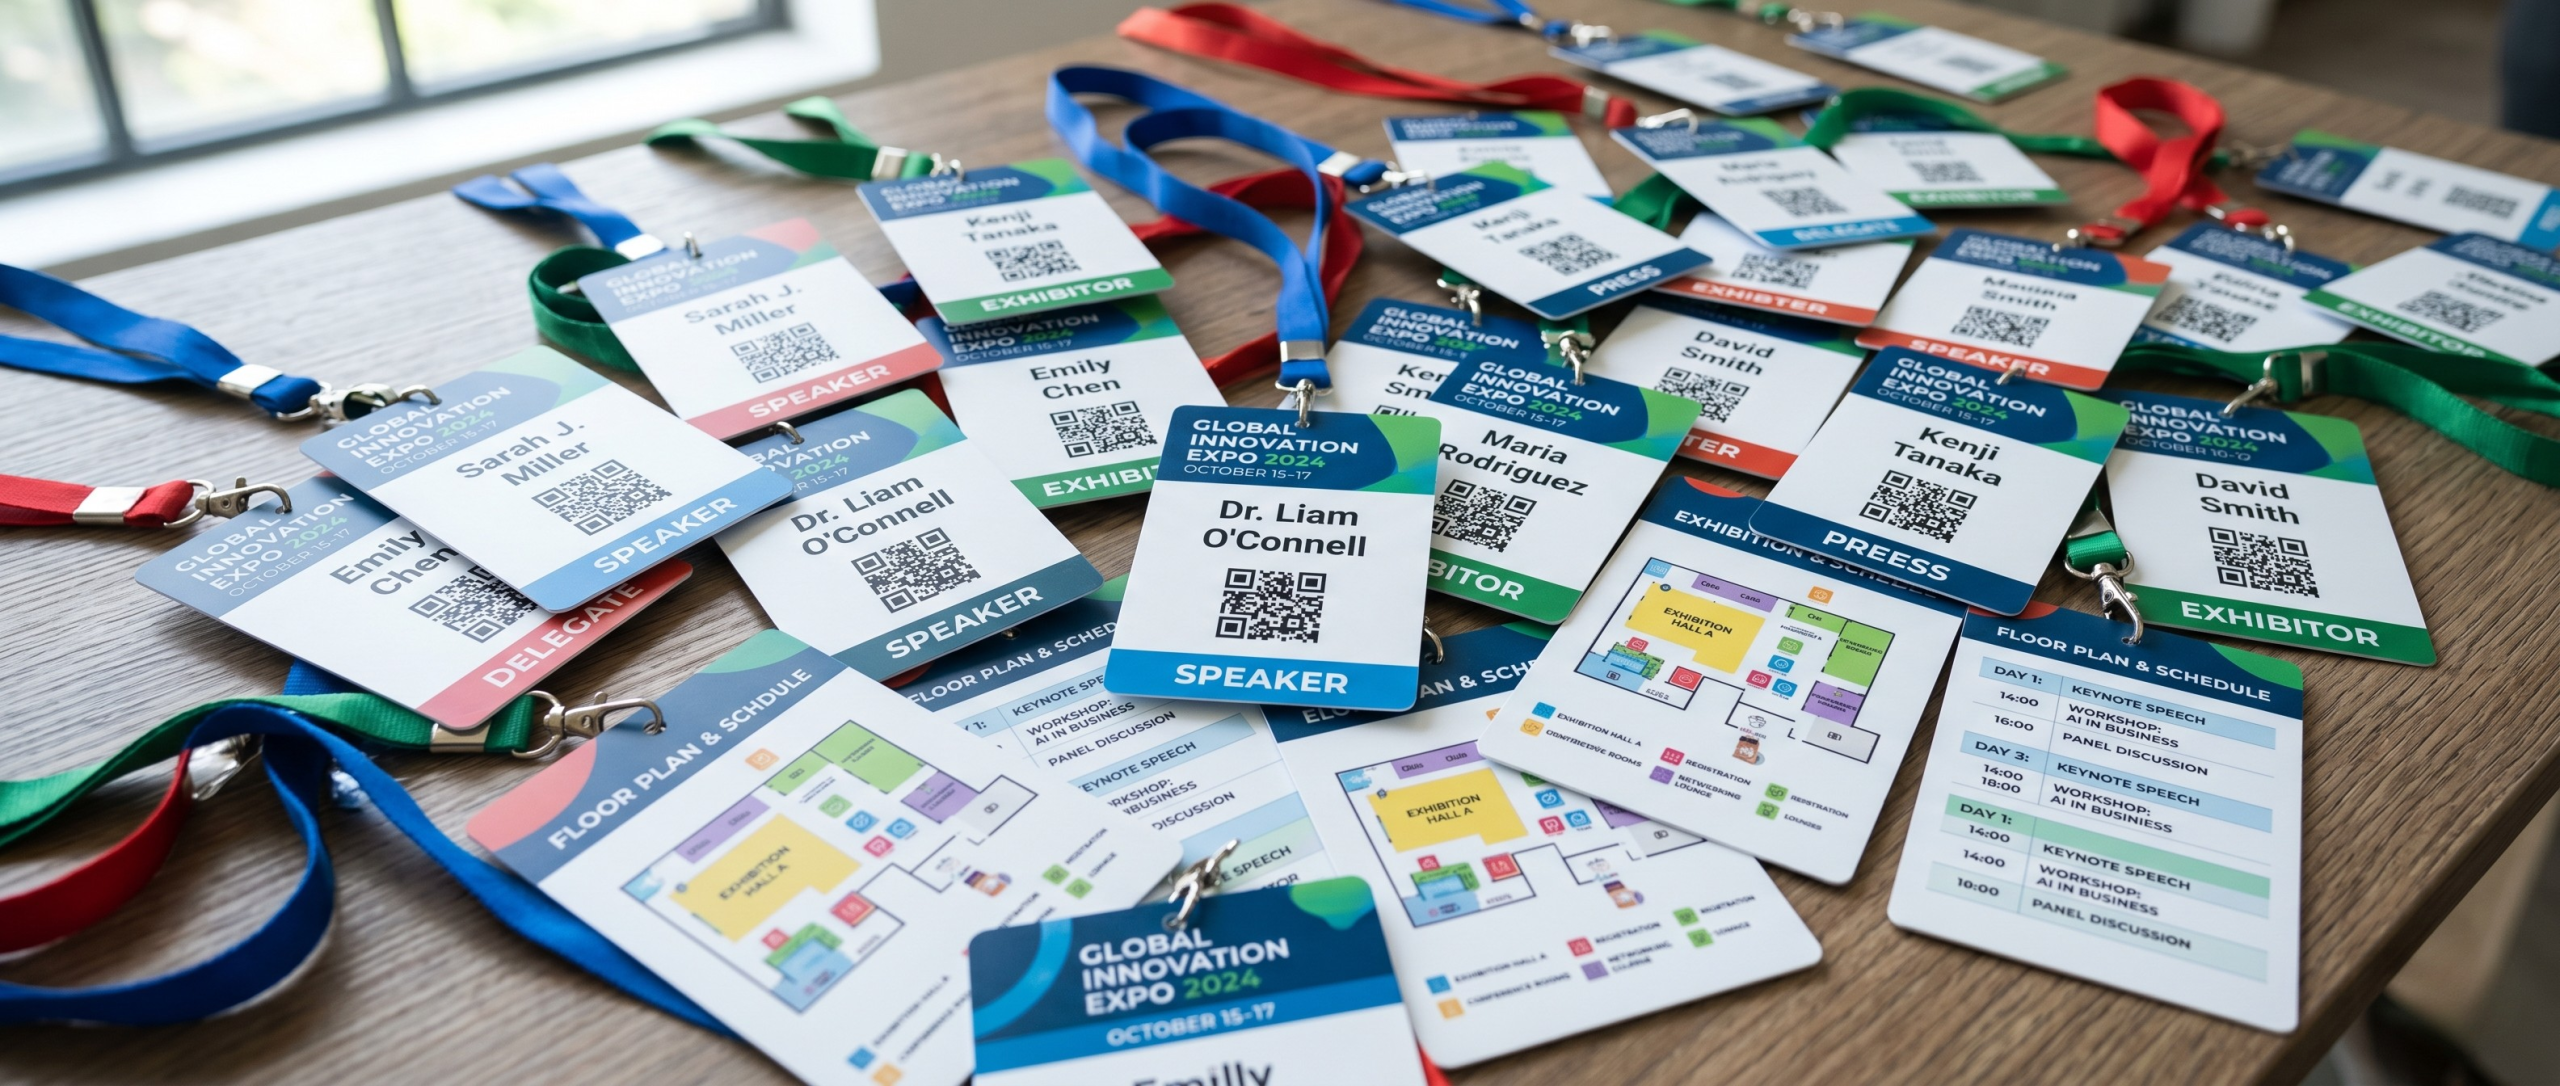
- Badge Categories: Clearly define who is who. Include prominent text or colour blocks to signify the category of the wearer (e.g., Delegate, Exhibitor, Visitor, VIP, Press, or Catering Staff). Colour-coding a thick band at the bottom or top of the badge makes it easy for security and attendees to identify people from across the room.
- Confirmed Sponsors: Badges are premium real estate for sponsorship. Give your top sponsors the visibility they paid for by including their logos. Space them neatly at the bottom or back of the badge so the front doesn't look cluttered.
- Space for Variable Data: Remember to leave a large, uncluttered area with a light or white background for the attendee's name, company, and job title.
- QR Codes and Barcodes: Leave space for any scannable codes that will be printed on the day. These are essential for access control, lead retrieval for exhibitors, and tracking session attendance.
5. Our Artwork Requirements
To ensure your badges look crisp, vibrant, and professional when they come off of our presses, your final artwork must meet our specific print specifications. When exporting your final design, please ensure you follow these exact requirements:
- Artwork must be supplied as a print-ready PDF.
- Files must be set up using CMYK and/or Spot Colours only. (Strictly no RGB. RGB is for digital screens, while CMYK is for printing presses. Supplying RGB files will result in unpredictable colour shifts).
- A 2mm bleed is required on all edges. (Bleed is the extra artwork that extends past the cutting line. This ensures that when the badges are cut to size, there are no unprinted white borders left on the edges).
- Images should be high resolution. Any photos or raster graphics used must be a minimum of 300dpi at their final printed size to prevent pixelation.
- Artwork must be supplied at final size, including the bleed.
- Any spot colours must be clearly named and defined within your design file.
- Transparency effects should be flattened where possible to prevent processing errors during printing.
💡 6. Ready to Order?
If you are ordering a badge that has already been designed by your team, simply check that your existing file meets the artwork requirements listed above. You can then upload this directly onto the product page, which will allow you to proceed to checkout and place your order in minutes. Alternatively, download the exact template for your badge design, edit it to meet your branding and event requirements, then upload it back onto the same product page.
If you have multiple artwork files that make up your desired quantity of labels, then simply tick the box that states ‘I agree to send over my artwork manually’ on the product page. After placing your order, you must then send an email to artwork@soabar.co.uk with your multiple artwork files attached, clearly stating what quantity breakdown of each you require. This will allow us to process your order correctly.
Need Artwork Support?
We know that setting up print-ready files can sometimes be tricky, especially if you are new to concepts like bleed lines and CMYK colour spaces. If you are unsure, our team is here to help! You can email artwork@soabar.co.uk with any questions you might have. Alternatively, you can ask for direct support from our artwork department to fix or set up your files for you. Please note that depending on the time needed to complete the design work, this service may be chargeable.
We can’t wait to work with you to make your next event a huge success. Badge Wave means brilliance, delivered.
- September 15, 2026
FAQS
Frequently Asked Questions
This will depend on what you want to print onto your badges on the day of your event. Our thermal tickets are designed to be printed on the Zebra range of printers, namely the ZD621 and GK420D. These printers will print your data and text in a single colour. Our Inkjet tickets are designed to be printed on the Epson C3500 and C4000 range of printers, which both allow for full-colour on the day printing.
Direct thermal technology uses a heat-sensitive coating to create clear, high-quality text or images from a single-colour printer, offering a simple and efficient printing solution without the need for ink or toner. Our Inkjet material is specially coated to allow a CMYK print process in full colour.
Typically, our on-site printers will accept any badge width up to a 4” wide. The most common size for an event badge is 4” x 12”, which folds to 4” x 6” double sided.
You can view our artwork requirements on the downloadable, editable templates on each product page.
Yes this is possible! We would just need a good understanding of your event, your branding guidelines, what is required to be printed on the badge and the logo(s) that you wish to feature. Email us at: BadgeWave@soabar.co.uk