
What to Pre-Print vs What to Print On-Site
In the world of event planning, first impressions happen at the registration desk. While on-site printing has revolutionised the check-in experience by allowing for real-time edits and walk-in registrations, the most professional-looking badges often utilize a hybrid strategy.
By understanding what information to pre-print at the Badge Wave factory and what to print live at the welcome station, you can create a high-end, durable badge that still offers the flexibility of on-demand check-in.
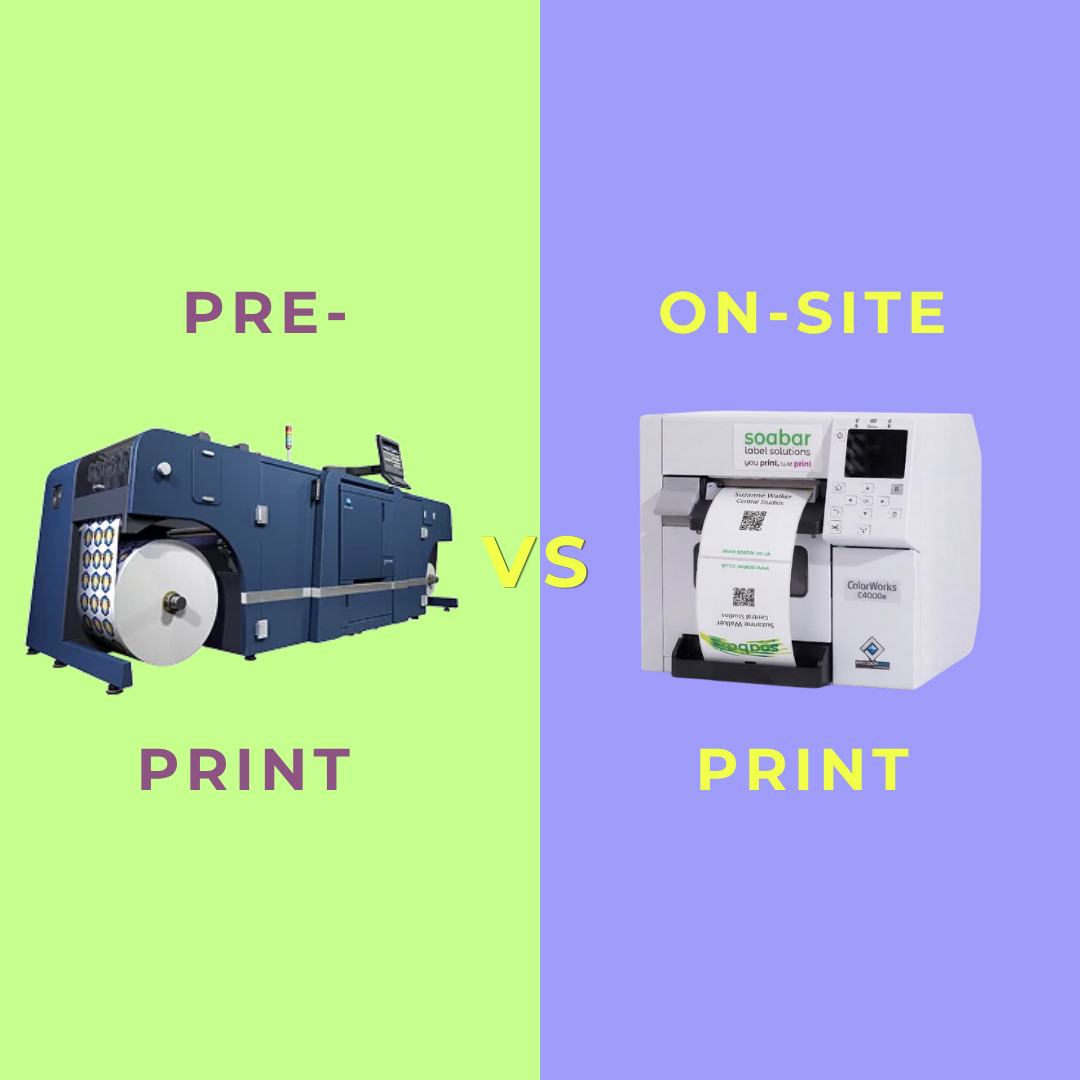
The Hybrid Approach: What to Pre-Print
Pre-printing refers to having your badge "shells" or templates printed by your supplier (Badge Wave!) before the event. This is best for elements that require high-resolution colour or complex designs that standard on-site thermal printers can’t replicate.
When to Pre-Print:
- For High-Volume Events: If you have hundreds or thousands of attendees, pre-printing the background design saves several seconds per badge during the on-site phase.
- When Brand Precision is Key: Thermal on-site printers are great for text and QR codes, but they often struggle with gradients or specific Pantone-matching.
- To Save on Consumables: On-site ink/ribbon costs are higher than factory ink. Pre-printing large blocks of colour is much more cost-effective.
Information to Pre-Print:
- The Main Event Branding: Your primary logo, the event name, and the dates.
- Full-Colour Backgrounds: Watermarks, geometric patterns, or photographic backgrounds that give the badge a premium feel.
- Sponsor Tiers: If you have one "Title Sponsor" whose logo appears on every single badge, pre-printing it ensures it looks crisp and vibrant.
- The Reverse Side: If your "Back of Badge" info (like the Wi-Fi password or a general map) is the same for every attendee, pre-print it to save time on-site.
What to Print On-Site (The Variable Data)
Once your beautiful pre-printed badges arrive, your on-site desktop printer such as an Epson or Zebra handles the "Variable Data"—the information unique to each individual.
1. Personal Identification
- The First Name (XL Font): The most important element. Ensure it is legible from 10 feet away.
- The Last Name (Medium Font): Keep this slightly smaller than the first name if you need to save on vertical space. Some prefer to keep this the same XL size as the first name, however.
- Company & Job Title: Essential context for networking.
2. Dynamic Categories (Colour Coding)
Even if your badge shell is pre-printed, you can print a bold text tag or a black-and-white icon on-site to denote attendee types:
- VIP / Speaker / Exhibitor / Staff
3. The Digital Gateway: QR Codes
QR codes should always be printed on-site. This ensures the code is linked to the specific ID of the person standing in front of you.
- Lead Retrieval: Allow exhibitors to scan badges to capture contact info.
- Digital Business Cards: Link the QR code to the attendee’s LinkedIn profile.
4. Leveraging the "Dead Space" for Sponsors
On-site printing allows you to offer "Last Minute" sponsorship. If a sponsor signs on 48 hours before the event (after your badge shells are already pre-printed), you can still add their name or a small logo (mono-colour using a Zebra printer or full-colour if you have an Epson) to the badge on-site.
5. The "Back of Badge" Utility
If you didn't pre-print the back, use the on-site printer to add:
- The Wi-Fi Password: The number one question at the registration or information desk, as phone signal is often poor in exhibition spaces.
- A Mini-Map: A small floor plan of the exhibition hall to help visitors find their way around, instead of using a separate physical map when their hands are full!
- Personalised Agenda: Some advanced software allows you to print an attendee's specific breakout session choices on the back of their badge.

Technical Top Tips for Success
- Optimize Your Router Placement
On-site printing relies on a stable connection. Keep your Wi-Fi router elevated and unobstructed at the welcome station. In a crowded hall, a hardwired Ethernet connection from your tablet to the printer is always the safest bet to avoid check-in lag.
- Choose the Right Badge "Hole"
- Standard PVC Cards: Require a Slot Punch (13mm x 3mm) for standard lanyards.
- Butterfly Adhesive Badges: The gold standard for on-site printing. They are durable, require no plastic holders, and come with pre-perforated slots. Use a double-slot configuration to prevent the badge from flipping.
When you order from Badge Wave, you can choose what hole(s) you’d like your badge to have. Choose from our 7+ attachment types when customising and ordering your badges.
- Test the "Longest Name"
Before the doors open, run a test print with a long name (e.g., "Christopher Alexander-Montgomery III"). Ensure the on-site text doesn't overlap your beautiful pre-printed logos or text.
Ready to design your hybrid badge? Explore our range of Custom Pre-Printed Badge Shells, On-Site Thermal Printers, and Accessories to make your next event's check-in the fastest one yet.
- May 19, 2026
FAQS
Frequently Asked Questions
This will depend on what you want to print onto your badges on the day of your event. Our thermal tickets are designed to be printed on the Zebra range of printers, namely the ZD621 and GK420D. These printers will print your data and text in a single colour. Our Inkjet tickets are designed to be printed on the Epson C3500 and C4000 range of printers, which both allow for full-colour on the day printing.
Direct thermal technology uses a heat-sensitive coating to create clear, high-quality text or images from a single-colour printer, offering a simple and efficient printing solution without the need for ink or toner. Our Inkjet material is specially coated to allow a CMYK print process in full colour.
Typically, our on-site printers will accept any badge width up to a 4” wide. The most common size for an event badge is 4” x 12”, which folds to 4” x 6” double sided.
You can view our artwork requirements on the downloadable, editable templates on each product page.
Yes this is possible! We would just need a good understanding of your event, your branding guidelines, what is required to be printed on the badge and the logo(s) that you wish to feature. Email us at: BadgeWave@soabar.co.uk